Showing posts with label Laptop Repair. Show all posts

                                                                               How To Fix Laptop DVD Drive Problem


sometimes You may get a message like drive is not accessible or device is not ready , when you try to access you CD or DVD drives .This may occur even if the Device Manager does not show any fault.

To solve Problem:


1)   Ensure that the connection to the drive is secure
 and the disk is properly inserted in the drive


2)  Remove the disk and connect is back properly


3)  Check the surface of the disk for dirt or abrasions.


4)  clean the Drive with a cleaning disk


5)  Try playing other disk in the drive .if no disk plays, there is a problem with the drive


6)  Try to access the drive after restarting the laptop.
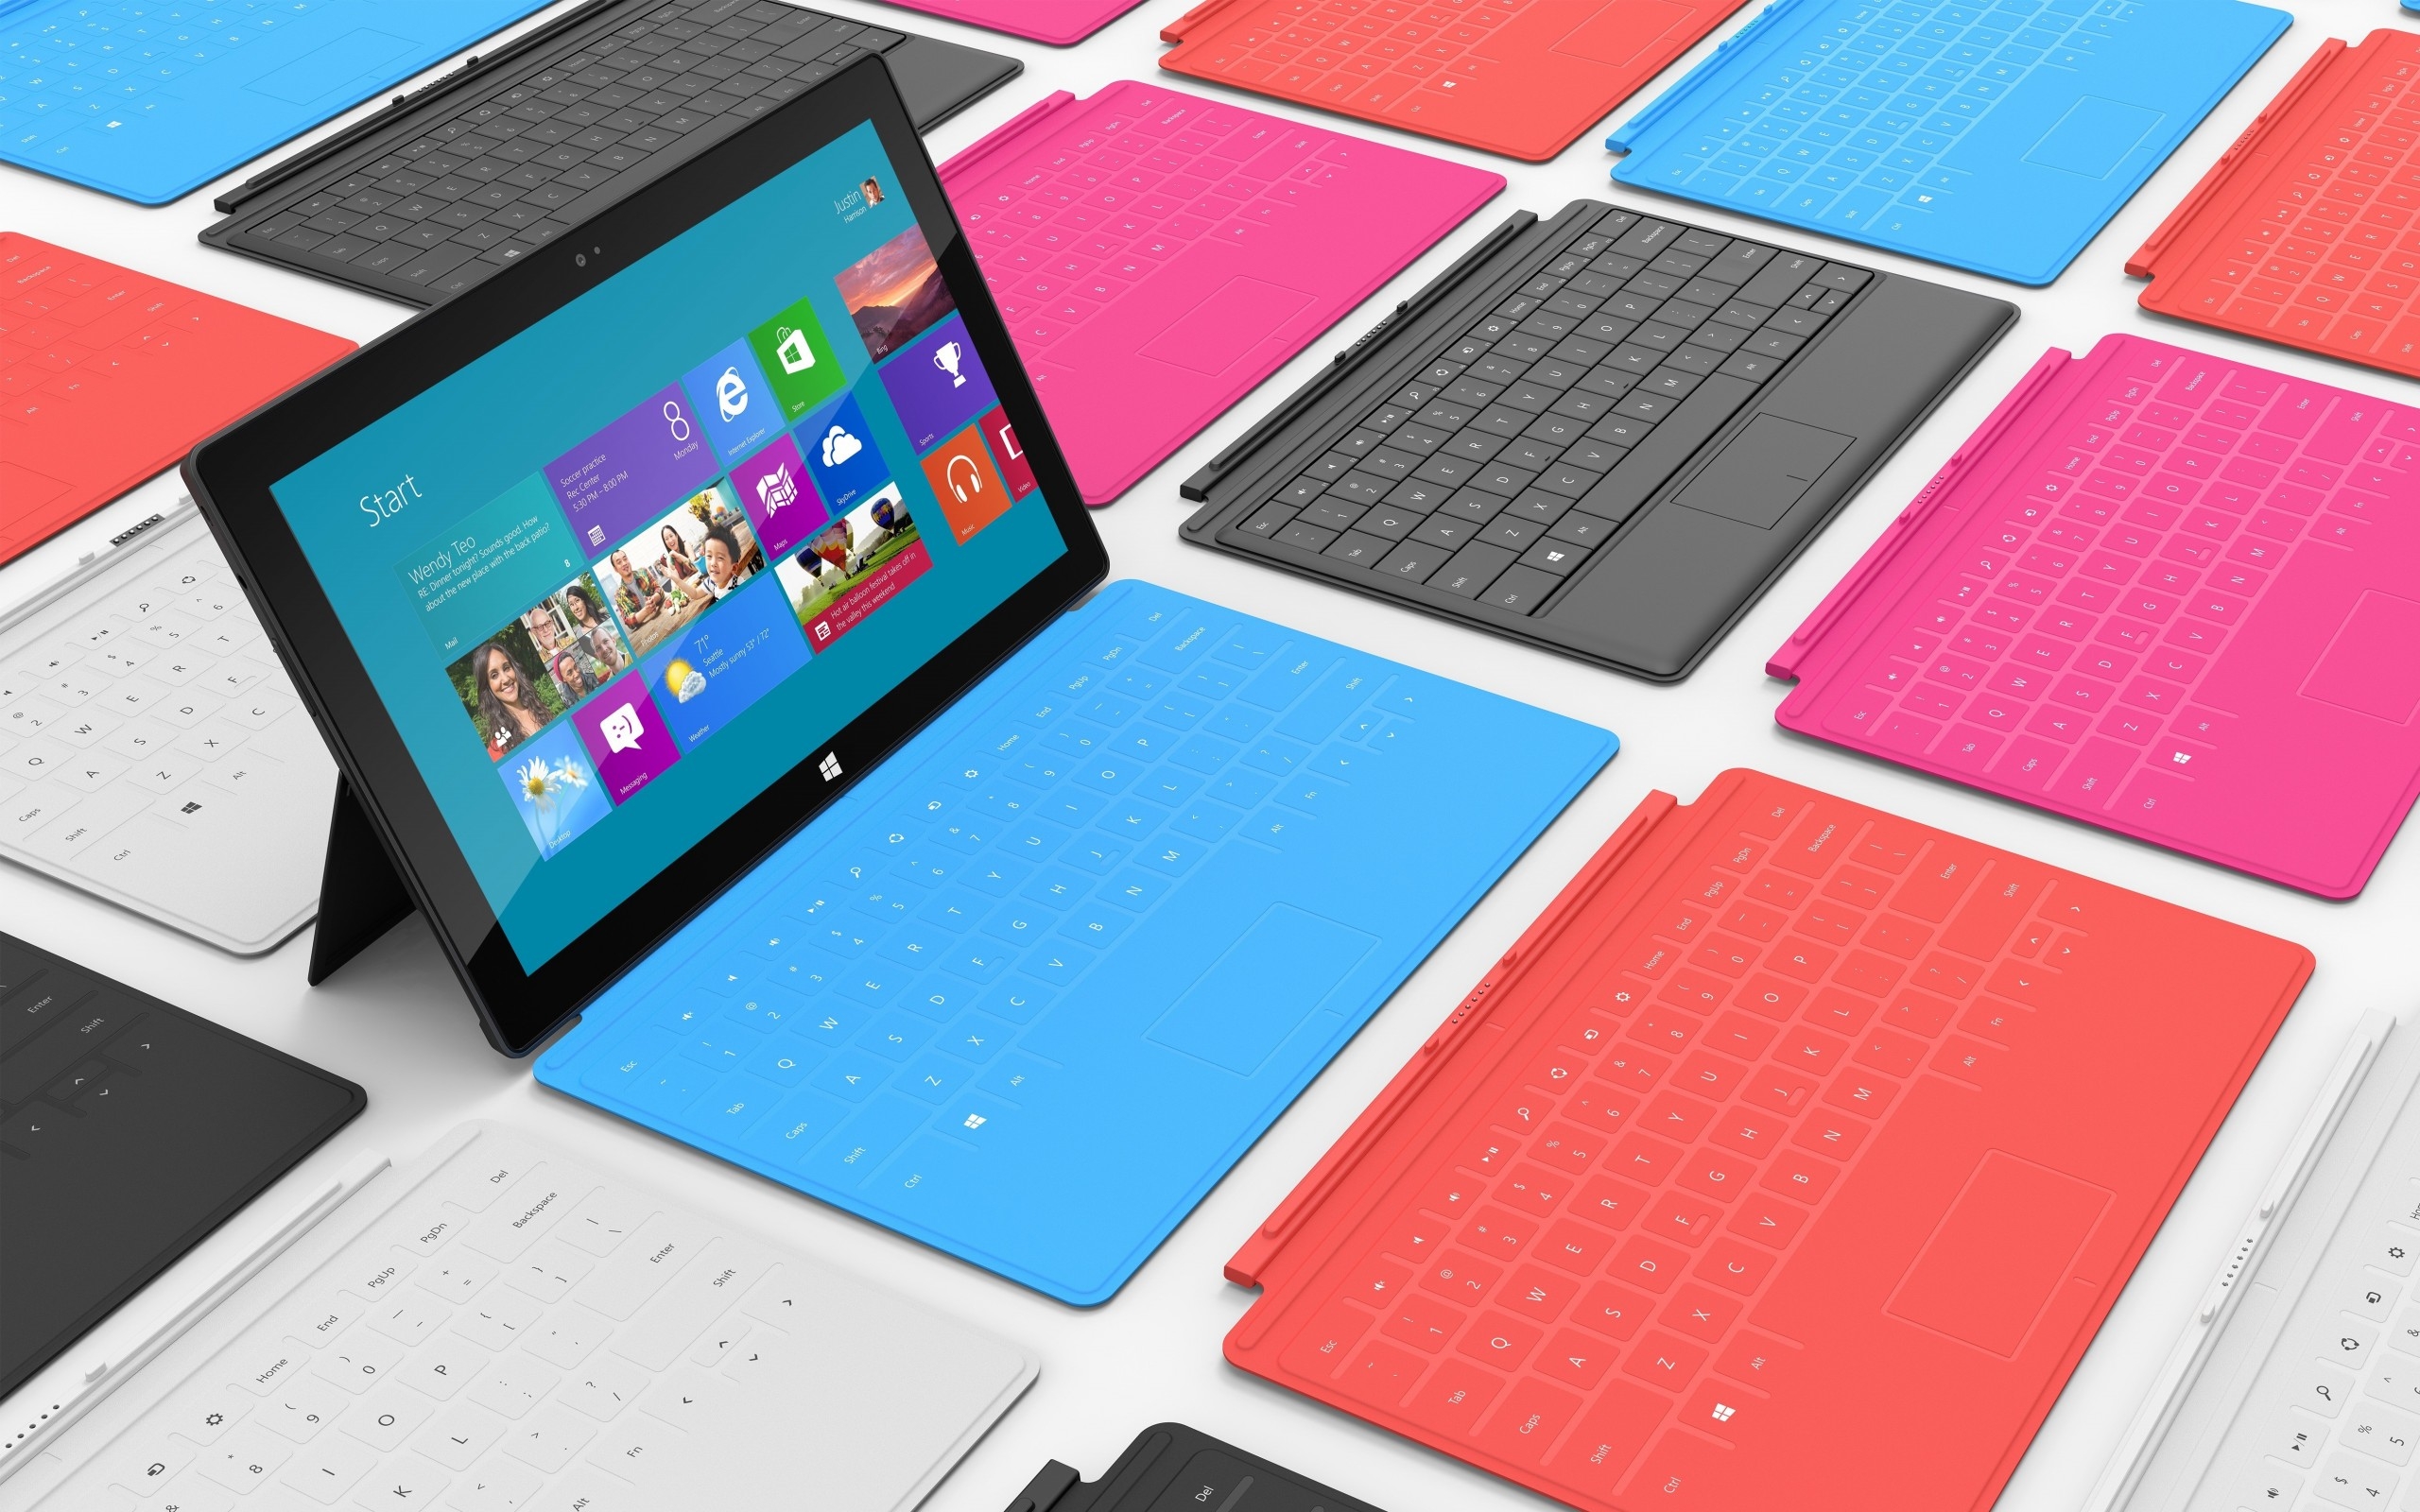


you can use portable PCs While Traveling.at Home or Any other Place of choice .Portable PCs are Used in field such as education ,Science and business ,among other in a Desktop  PC, The Monitor ,Keyboard , Mouse And speaker Are Attached Separated and the components are  Easier To upgrade .The user can also add more RAM , Higher Capacity hard Disk ,Or a New DVD drive .Desktop Pc Is Very Cheap as Compared To Laptop .The Components Are Integrated in  a laptop and it is very difficult to upgrade these components it is Also very Difficult to add more RAM ,Higher capacity hard drive or a new DVD drive But laptops are compact are compact in size and easy to carry while traveling


How To Disassemble  Laptop step by step


Note

1)  Identify the Different Screws

2) Organize part and sequence it

3) Refer to manufactured documentation

4) Use Appropriate hand tools..


1) Turn the laptop upside down


incomputerking


2) Unlock  the battery and remove it from the battery cover .

3) Remove the screws:


4) Two screw from the hard drive cover


  One screw From the Modem cover

 One screw from the wireless card cover

 One screw from the laptop heat sink covers and lifts all 
         covers from the laptop


5) Remove the Drive From the HDD  bay.

6) Remove both Memory Modules


7) Carefully Disconnect Wireless Card Antenna Cable And Remove the Wi-Fi Card.


8) Unscrew three screws securing the Laptop Heat sink to the system board


Note :- These screws are different in color and length .Recognize this and keep it in different location .Don;t Mix With other Screws


9) Remove the heat sink from the Laptop


10 ) Remove the screw securing the DVD drive


11) Using a sharp object slide the DVD drive from the laptop and remove it


12) Remove the Fifteen Screw securing the base assembly to the top cover assembly and keep these screws aside


13) Use a guitar Pic to release Latches On The Strip Side First And Release The Rest Of the Latches With Your Fingers


14) Remove The Keyboard Securing Strip


15) To remove the Keyboard from the Laptop ,Remove Two Screws on The top Of The Keyboard


16) Move The keyboard Away From The Touchpad To get access to The Keyboard cable.


17) Disconnect The Cable On the System Board.Remove The Keyboard


18) Close the Laptop Lid And Turn It  over

19 ) Remove Four Screws Securing The LCD display On The Back of The Notbook And Keep it Aside


20) Turn the Laptop The Right Side Up And Open The lid


21) Remove The Black Tape Securing The Wireless Antenna Cables And USB Board Cable


22) Remove Two screws securing The LCD display Assembly To the Laptop base..


23) Disconnect The Video Data cable ON the System Board..


24) Pull the Wireless Antenna cable through the Opening in the top Cover..


25) Carefully Lift the Laptop display Assembly Up and remove it From The Laptop


26) Unplug the Touch pad Cable And The Switch Board Cable On The System Board


27) Unplug The I/O board (Usb Board ) Cable On the System Board


28) The USB Board cable Is Glued to The top Cover Assembly .You Have to lift it up before you Remove the Top Cover Assembly


29) close The Laptop Display lid And turn the Unit Over .Start to Separate the laptop base And The top Cover Assembly From The Back of the laptop


30)To release The Use A guitar pick .Move it alone the edge to separate the top cover and the notebook base


31) Remove the Top Cover Assembly


32) Lift The Right Speaker And Modem/LAN ports off the notbook base


33) Remove One Screw Securing The I/O board (USB board) to The base and Remove it.


34)Disconnect the Right and Left Speaker on The System Board And Remove Two Screws Securing System Board to the Laptop base


35)Remove The system Board From The right side


36) Turn system board Over And Place it on the disk


37)  Remove The Black Tape Securing the DC-IN jack cable To the System board


38) Disconnect The Power Cable From The System Board


39) Disconnect the Modem /LAN cable On The system Board


40) Release Two Black plastic Latches Securing the North Bridge to The System Board


41) Turn The System board  over And Losen two Screws Securing The cooling Module.


42)Disconnect the Fan cable on The system Board


43) Lift Off And remove the laptop North Bridge Cooling Module


44)Remove  Two Securing he Modem Card to The System Board


45 ) Disconnect The Modem Cable On The System Board


46) Remove the Notebook Modem Card With The Cable


47) Unlock The CPU And Carefully Lift it Off


47)Laptop is completely disassembled ''


Thank You :)


                                                                             Basic Tools used for laptop Repair


Star Tripped screwdriver 


  Star Tripped screwdriver


This is also a commonly used tool, mainly used on the Macintosh ,though also common on dell , Alineware, and sony Vaio ,if you do not have access to one of these ,you can purchase one from your local Auto part store and you will definitely need the multiple tip pack ao allow different sizes for Different laptop models.


Mini pliers


Mini pliers


I suggest that you buy mini needle nosed pliers because they are easier to use o the micro sized components that make up the laptop .The pliers I use are 3 inches long ,I find that the normal sized pliers are way too big and do not reach into certain areas that the mini can


Toothbrush


Toothbrush


this ,believe it or not ,is the second most used tool in laptop Repair ,Yes  A tooth brush ..You will use this on each and every laptop you repair .why you ask ? the tooth brush is used to clean any and all part and components in and on  the laptop .Cleaning the laptop part as you repair is detrimental to the longevity of the laptop life.it is used to clean the keyboard ,the motherboard and any case part


Scissors

Scissors


The smaller the better when obtaining your scissors .I use hair cutting scissors because they are small and the cutting tips are thin and narrow

Electrical Tape


Electrical Tape


This is used to wrap cables and wires,and used to secure or flatten wire or cable tracks on in the laptop .i try not to use this on wire or cable wrapping if possible because  have found that over time the tape will slowly unravel and can become-sticky on the outer -side.

Shrink Wrap tubing

Shrink Wrap tubing


 These can usually be found in variety packs ,the larger of the size will be one you use most commonly in laptop repair these are placed over the repair area on the wire or cable ,they are basically rubber tubes that you  cut to your specifically needed length ,then heat the tube to shrink it to the size of the wire or cable being repaired 

Copper Foil Tape

Copper Foil Tape

A less common item used, though you will eventually need this if you are laptops o a regular basic .This will be used for motherboard PCB Repair and more commonly used for DC jack C-Ring replacement /repair

Adjustable Pliers 

Adjustable Pliers


This is a less commonly used tool, though it will be needed at times. I will rarely use this on a DC Jack repair to gently wiggle the jack loose from the desoldered contact pads. You will find other uses for this tool so it is a good tool to add to your collection.

Liquid Flux

Liquid Flux


recommend that you get both a paste form and the liquid PEN form Both are readily available on Ebay for small price, yet are hard to find locally at a store,you can try shopping at Radio shack for flux paste, but doubtful they have the flux pens.

Black permanent Marker


Black permanent Marker


This is used often mark screw holes, or mark the area of damage on the laptops part 

plastic prying Tools


plastic prying Tools


These will be needed for almost every laptop repair procedure.when able you.will Always use plastic over metal to disassemble or work on the laptop or any electronic components .There are various kind that are used and needed .A guitar pick is the most used tool,not a flimsy pick rather a slightly thicker guitar pick that can withhold bending back and forth numerous time .Another great plastic tool is one you will need to purchase off of Ebay and is part of the IPOD repair kit

Metal Epoxy Glue


Metal Epoxy Glue


you will find varieties of this product and will have to choose the best one for yourself .i typically use the Black /Clear Mix ..As it has a longer drying time ,it will allow more strength over time hold up to heat exposure this will be used in many areas of the laptop ,and being that a laptop that a laptop motherboard is SelfGrounded ..it can be used directly on the PCB to cover Component or traces A common use for this Epoxy is for DJ jack Repair ,as it will be used in the last step and applied to the jacks rear end sides to help secure it to the motherboard .Also this will be used to brace the jack when the  laptops lower case DC jack holding cage breaks .

Toothpicks

Toothpicks


These have many uses and are a handy tool to have nearby .Used to apply fluxes, used to apply epoxies, also can be used to help plug or unplug certain ribbon cables or thin wire(s)

Thermal Paste


Thermal Paste


you will only be using silver thermal paste in a Laptop ,Never Ceramic past.Laptops will use 2 Cooling Sources Either silver past or a thermal pad.will be hard to repurchase and silver thermal past will be readily available for sale everywhere .if a part or component originally used a thermal pad ,it is highly recommended that you keep using a pad and not switch it out to using past.These pads also are used cover a gap which is left for that specific part for thermal expansion and contraction

30 to 50 watt soldering iron 


30 to 50 watt soldering iron

you can use Any brand they are typically disposable .i recommend that you do dispose of the cheaper soldering irons after 10 or so uses,or get yourself some Tinner to refresh the tip .I do recommend a 50 watt iron for laptop component repair as it will allow for better -flow of the solder due to the higher temperature output.

solder 


solder


The average Rosing Core solder will do ,get your self 1.0 mm solder ,any thicker and it will apply to heavily.


Circuit Board Cleaning Solution /WD40


Circuit Board Cleaning Solution /WD40

This solved is used to clean the motherboard , and i will clarify its uses throughout this book WD40 is More readily Available to purchase and can suffice .Again ,i will also  explain how to properly use WD40 to clean components /Remove flux and so forth.

Multi meter

Multi meter


  This can be bought at your local Home  improvement store ,and you will a wide variety of quality choice .for a beginner ,it is ok to purchase the cheapest Multi-meter to learn uses and familiarize yourself with it .

Heat Gun.
Heat Gun.


The better the quality the better the final result of your repair will be. On average ,you want to use at least a heat gun  with switchable settings.. One that will produce temperature of 700  to 800 degrees. i use a RYOBI heat gun , 120v. 11a, Temp: 200-1100 degrees Fahrenheit.


Thank You :)


Comment


Powered by Blogger.